How to deploy Flask applications to AWS Lambda
AWS Lambdas provide incredible (almost unlimited) scalability and flexibility. Once you deploy your code you can be sure that anything you throw at it, Lambda will handle, but deploying to lambda is not a straight forward process.
Luckily Python Deploy solves this. It handles all the complicated AWS configuration for you, so you can focus on your app. In the this tutorial I will show you how to:
- Create a Python Deploy account.
- Configure a Python Deploy Flask application.
- Deploy the Flask application to AWS Lambda using Python Deploy.
By the end you will have a fully functional AWS environment, where the database, queues, roles, permissions, http-api, and more resources that are usually painful to setup, have been configure and are working together to serve your app with the full AWS infrastructure power available to you.
The sample Flak app that will be used for the tutorial can be found in https://github.com/jmfederico/demo-app-flask/. You can use your own app, but I recommend you that you first complete this tutorial with the demo app and then use it as an example on how to configure yours.
Create a Python Deploy account
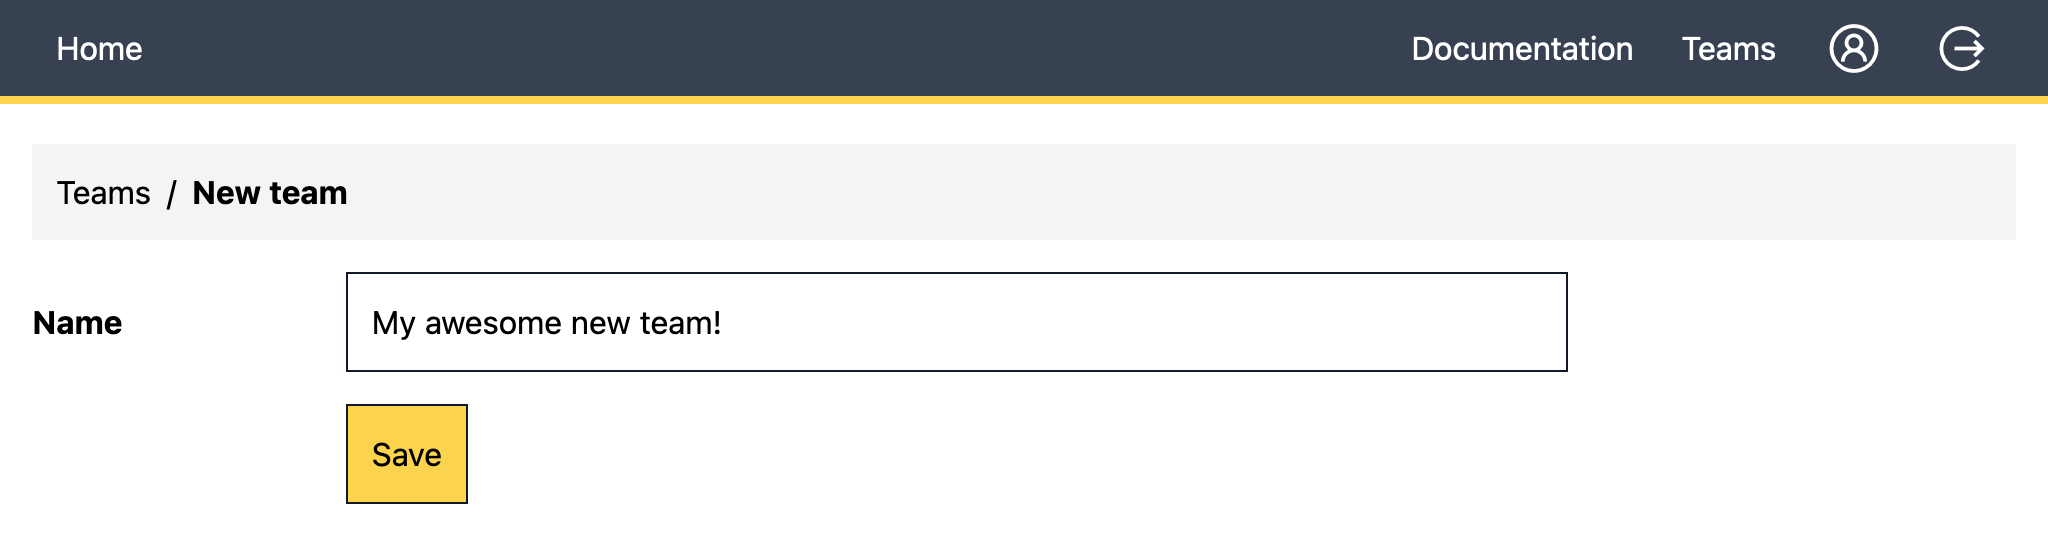
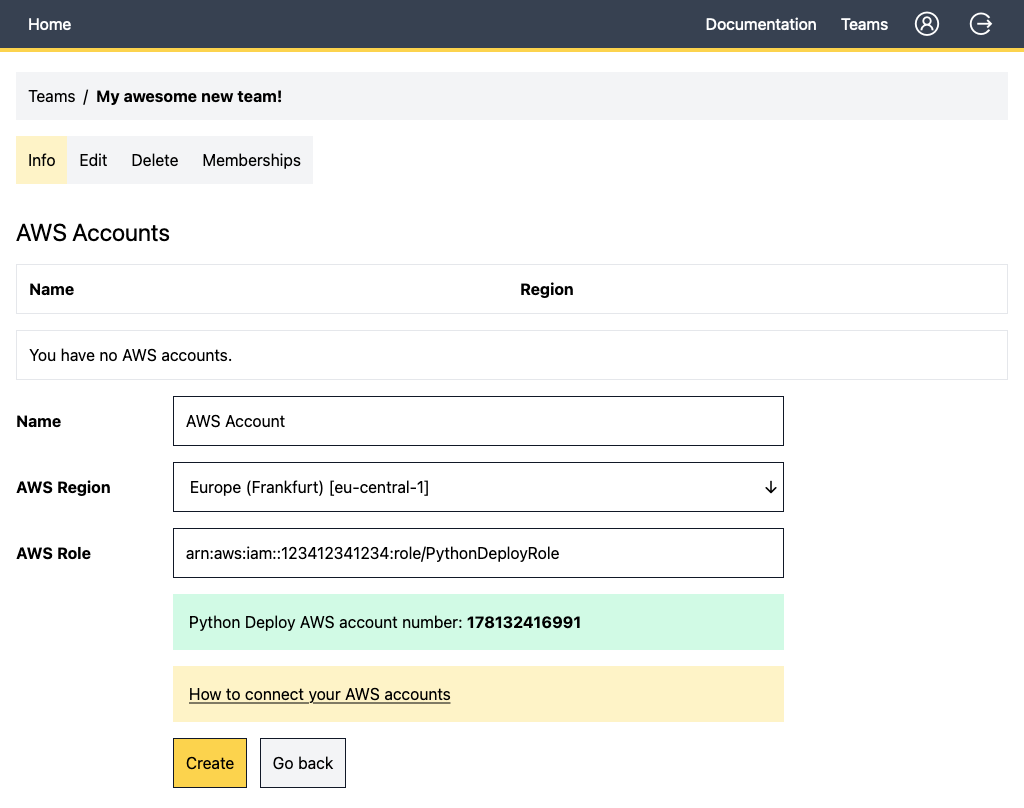
You need an Amazon account linked to a Python Deploy account. First create an account with Python Deploy, create a team, and follow the instruction on how to link your AWS account to your new Python Deploy account.
Name your team anything you want, this can later be changed, no pressure there.
Configure a Python Deploy Flask application
After you have linked you AWS account, the next step is to create and configure the application. Add a new application in Python Deploy, and then setup the environment variables. For the demo app use the following values:
PD_WSGI_APPLICATION=app.wsgi.app
PD_SQS_HANDLER=app.sqs.sqs_event_handler
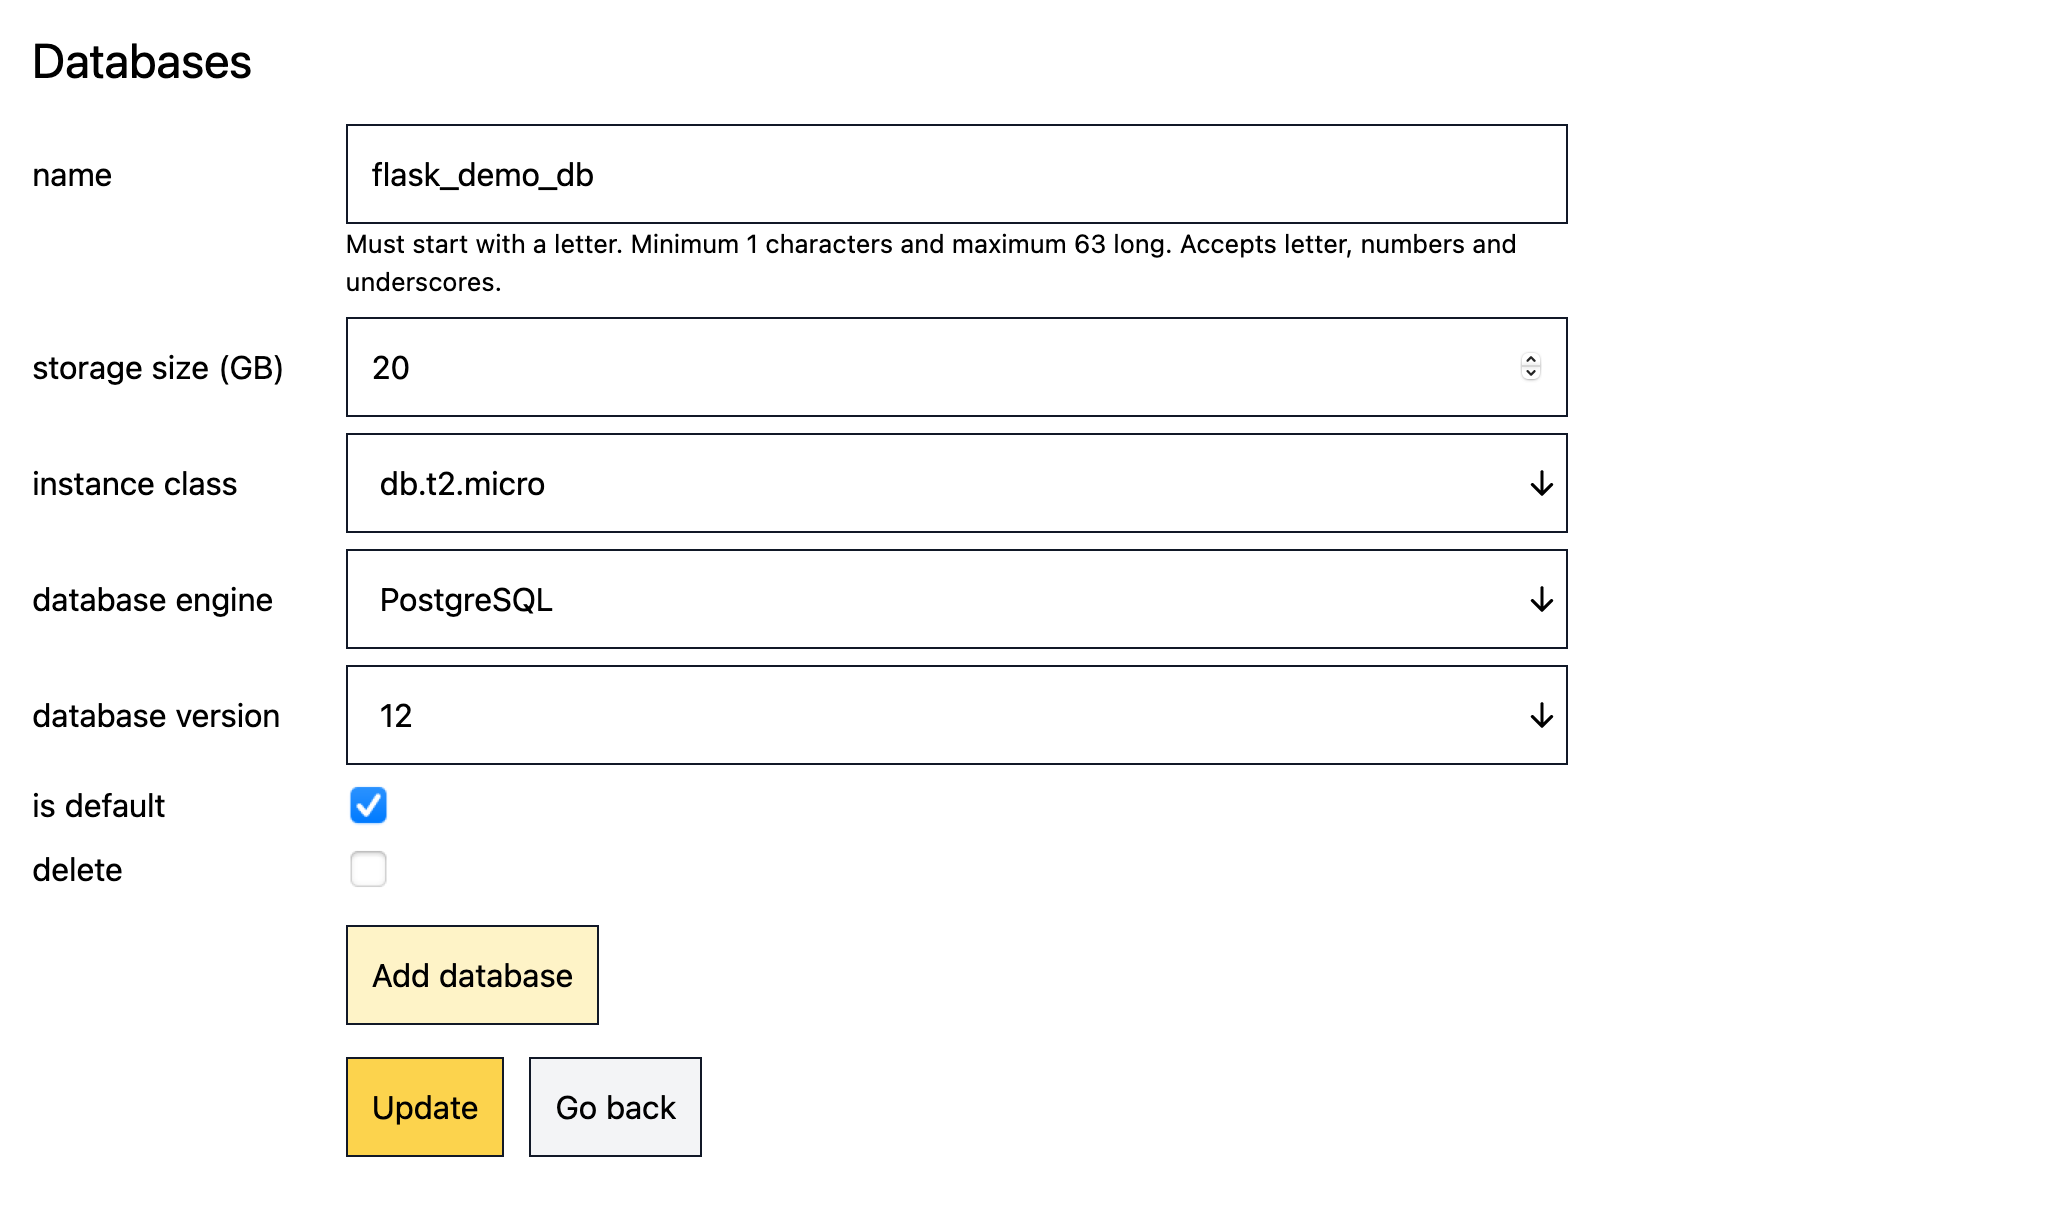
Then, create the Postgres database that the app will use. The smallest database is enough for the demo app.
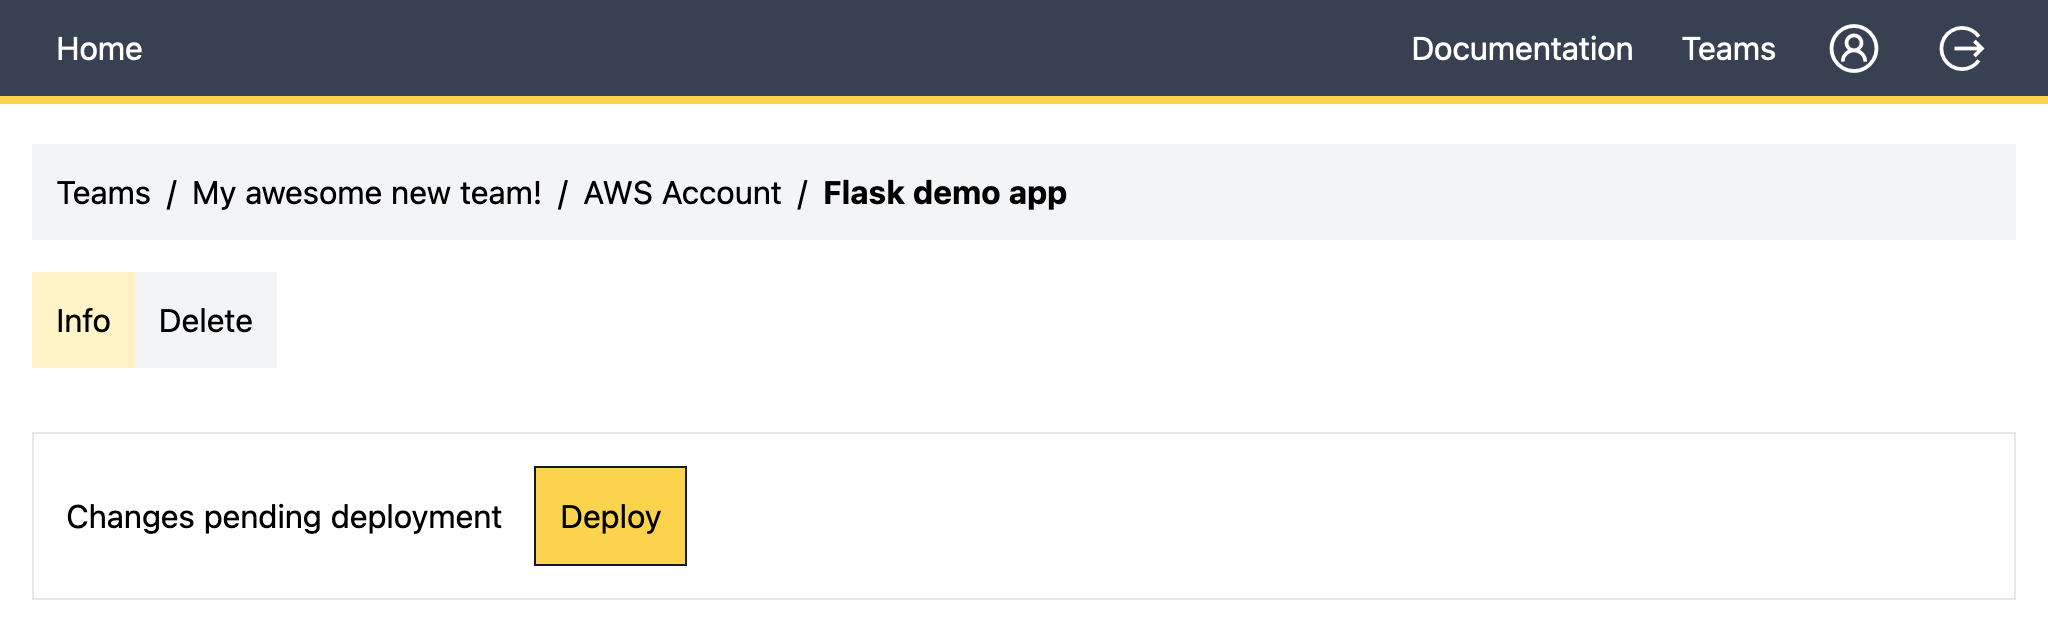
After you have configured the environment variables and created the database, it is time to push the changes to AWS. Python Deploy does not pushes changes automatically. It gives you the opportunity to batch push all you configurations once you are happy with what you have.
Creating a database is a slow process in AWS so this initial push will take some time. Making changes to code or environment variables is a faster process (almost immediate).
Deploy the Flask application to AWS Lambda using Python Deploy
Now it is time to actually push the code to the Lambda Function. This can be done using CI/CD tools or from your computer. The demo Flask app includes the configuration files for Gitlab, Github, and also includes a script to use Docker to locally build and push your code to AWS. The next steps will use the docker example files which you will find in the dot-pd (.pd) folder in the root of the application.
-
Clone the demo app to your computer:
git clone https://github.com/jmfederico/demo-app-flask.git cd demo-app-flask -
Copy the dot-env example file:
cp .pd/.env.example .pd/.env -
Open the new
.pd/.envfile and add the missing environment variables. Your PD_API_KEY can be found in your Python Deploy user's profile, and the PD_APP_ID can be found in the dashboard of your application.PD_APP_ID=00000000-aaaa-0000-aaaa-0000aaaa0000 PD_API_KEY=****************************** -
Run the following script from the root of your application to build and deploy your app:
./.pd/build_deploy.sh -
Done! You can now visit your application. You will find the URL in the application's dashboard.
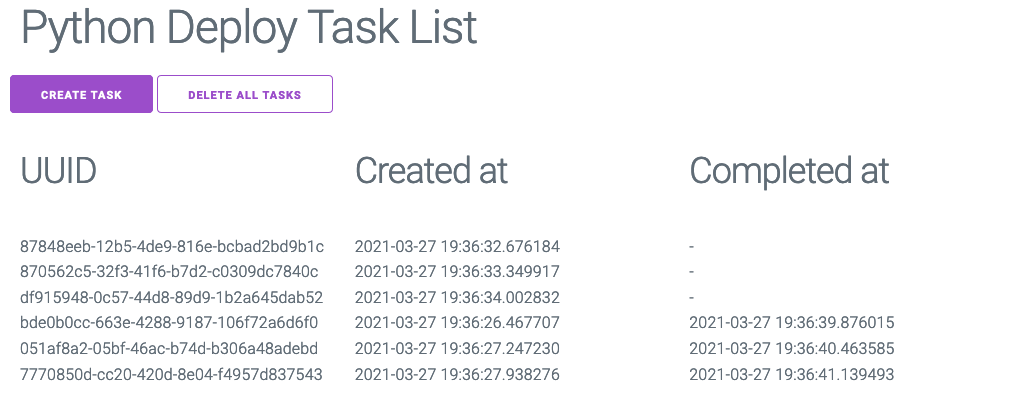
Python Deploy demo app
The demo app allows you to create task entries (using the "Create task" button), and they will get auto-completed by SQS after 10 seconds. It is meant to be a very simple example for:
- How to connect to a Database
- How to respond to http requests
- How to run shell commands in your apps (in this case the migrations)
- How to create SQS messages
- How to process SQS events (form the sent messages)
Did you find this useful? Comments and questions are more than welcome!
Comments